See Also
- Adding Notes to an Item
- Adding Inventory Information on an Item
- Adding Weight and Dimensions to an Item
- Adding an Item from an Item Template
- Adding an Item from Scratch
- Creating Items
- Deleting Items
- Duplicating Items
- Entering Listing Upgrades
- Entering eBay Listing Information
- Entering eBay Shipping Information
- Entering Payment Information
- Entering Item Data
- Importing Data into SixBit
- Saving an Item as an Item Template
- Entering Title and Description
- Entering an Allocation Plan
- Entering Etsy Information
- Entering Product and Shipping Info
- Entering Tags and Materials
- Entering Categories and Attributes
- Entering Item Specifics
- Entering eBay Catalog Information
- Adding Items in Bulk
- Printing Inventory Labels
- Adding Pricing Information to an Item
- Adding Product Information to an Item
- Editing Items
- Entering Categories
- Managing Pictures on an Item
Checking Your Item for Validity
 Each site has different requirements for listing an item. Once you have completed your item record, you can use the Check Item window to make sure the item has all of the required fields before submitting.
To check an item for validity:
- Open the item that will be checked. How?How?
- Select the site tab that for the item that will be checked.
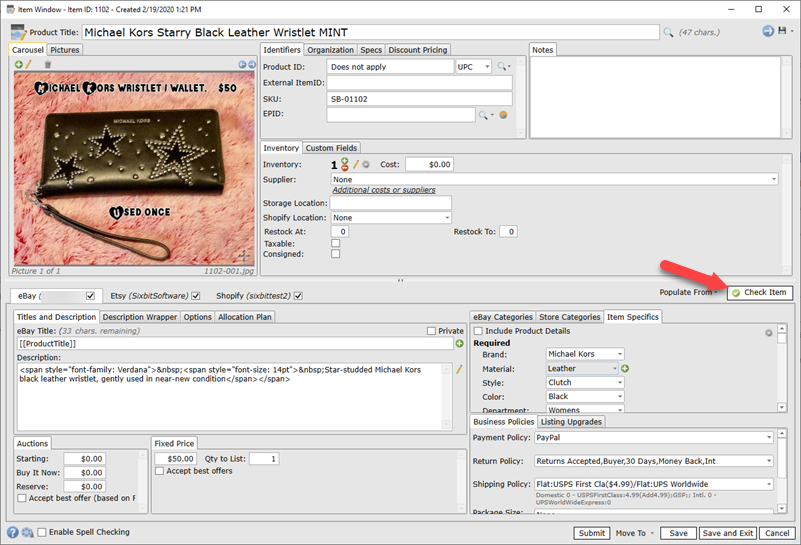
- Click the Check Item button to open the Check Item window.
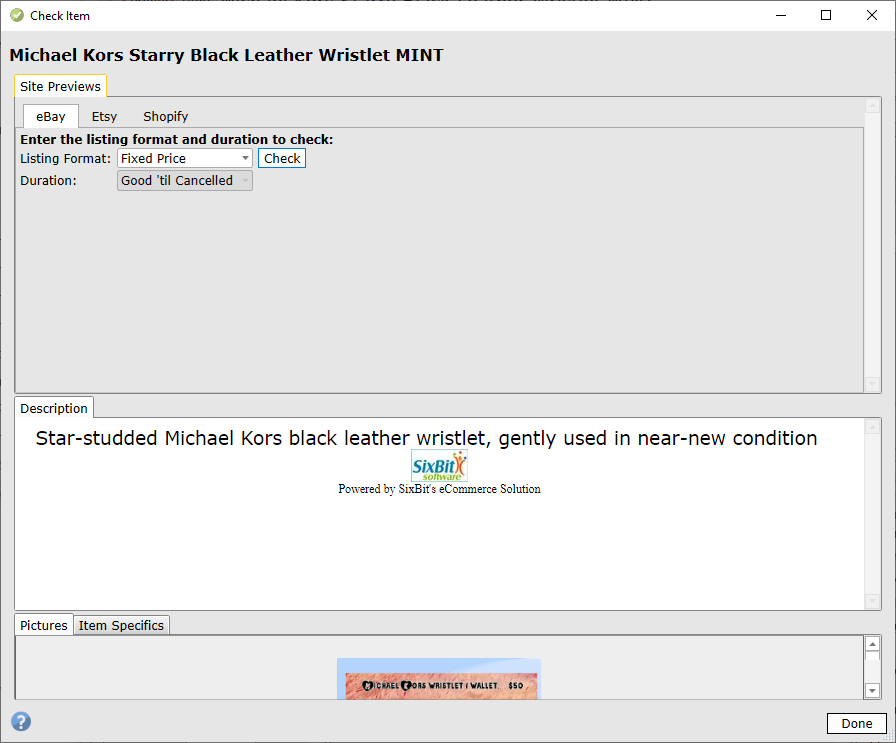
- The Check Item window will appear with a formatted view of the listing. Since different listing formats and durations will have different input requirements, the Listing Format and Duration combination that will be checked must be specified. Click the Check button when ready.
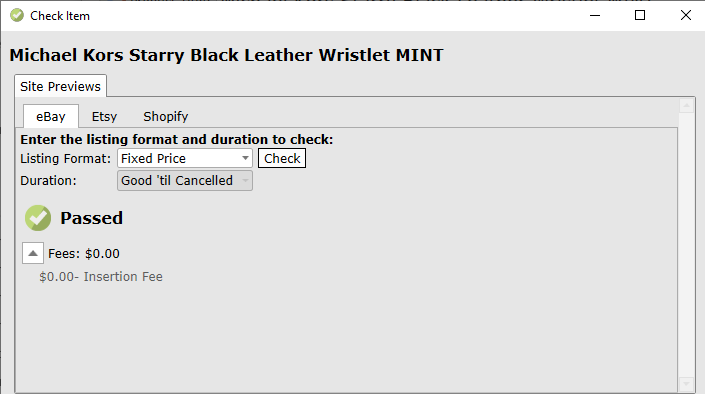
- A Passed or Failed message will be received. If the check failed, make any necessary changes on the item record in the background and then click the Check button again.
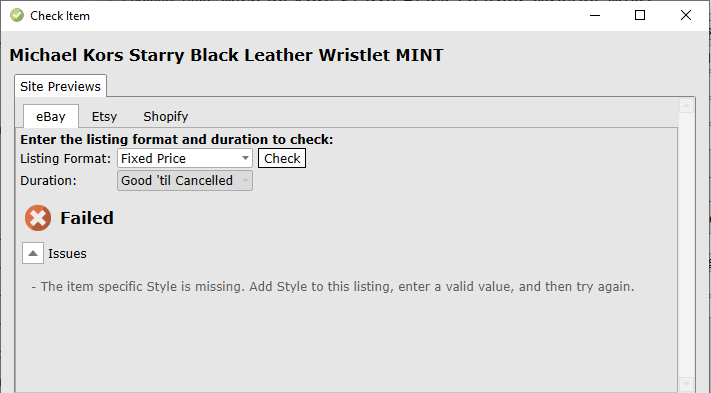
-

You do not need to close the Check Item window to make the changes. In fact, it is easier to make all your changes if you leave it open and just re-click the Check button when your changes have been made. - Repeat the process of fixing the item and running the check until the check passes. Click Done to exit the Check Item window.
To check multiple items for validity:
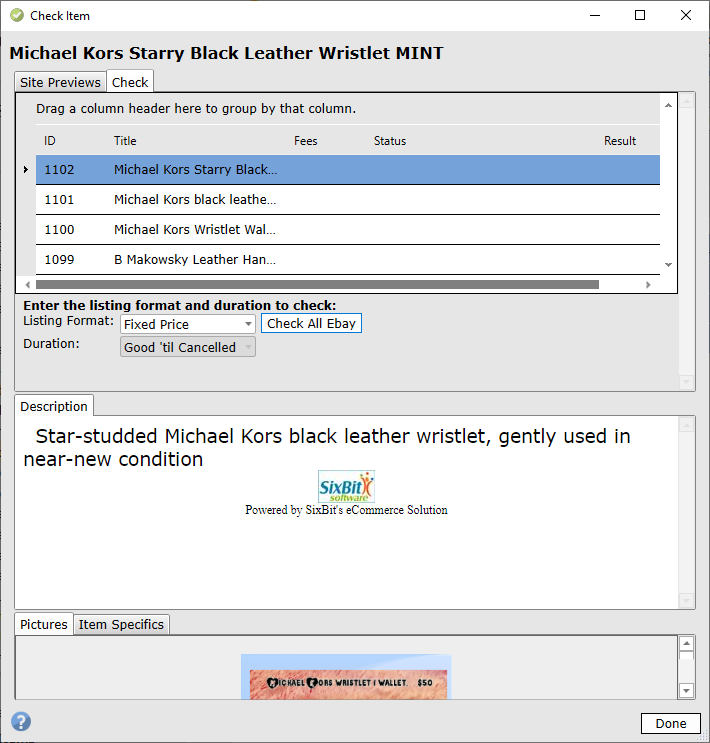
- In the Sell Items grid, select a group of items and click Preview

- In the Preview Window, select the Site, Format, and Duration and click Check All. Any items that fail submission will be highlighted in the Sell Items grid.
