Creating Purchase Orders
As any seller who has had to place an order with a supplier knows, the process of generating a purchase order can be a tedious, time consuming task. When using the Purchase Orders Module, this task can be reduced to a simple and speedy process.
Purchase Orders (PO's) in SixBit can be generated automatically or created manually.
Automatically Generating Purchase Orders
To automatically generate purchase orders in SixBit, there are a few prerequisites.
First, and most obviously, the item must be entered into the SixBit database, and that item must have a Supplier specified on one of the existing purchase records.
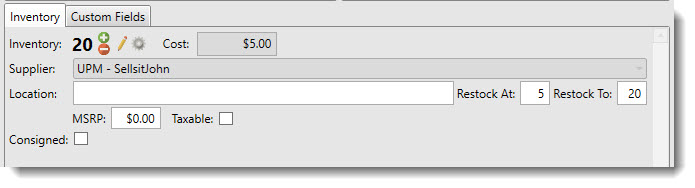
Also, each item must have a value specified in the Restock At and Restock To fields. The Restock At field identifies the low inventory level. When inventory goes below this number, SixBit will know it needs to be reordered. The Restock To field identifies the level the purchase order should restock the quantity to. For example, an item has a Restock At level of 5 and a Restock To level of 50. If the current inventory is 7, the item does not need to be restocked. If the current inventory level is 3, then the item should be included in a Purchase Order and 47 should be ordered to bring the inventory back up to 50.
The RestockAt and RestockTo fields can be entered on the Inventory tab of the Edit Item window. If the item is a variation, they can be added on the Variations grid.
If this information is present, the SixBit has all it needs to identify which items need to be reordered for each supplier, and how many of each item to order.
To automatically generate purchase orders:
- From the ribbon bar in the Sell Items mode, click the arrow under the Purchase Orders button and choose Auto Generate.
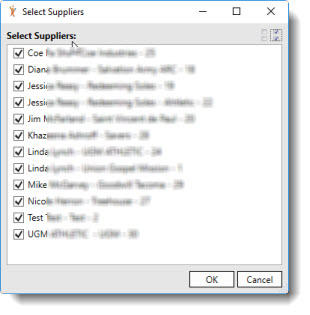
- A list of suppliers will appear. Select the suppliers to generate purchase orders for. Select All and Clear All buttons are available in the upper right corner to assist. Click OK when finished.
- All items will be reviewed to find any where the inventory level is below the Restock At level. Those items will be grouped by Supplier and a Purchase Order for each selected Supplier will be created. The Create Purchase Order window will open to display the new purchase orders.
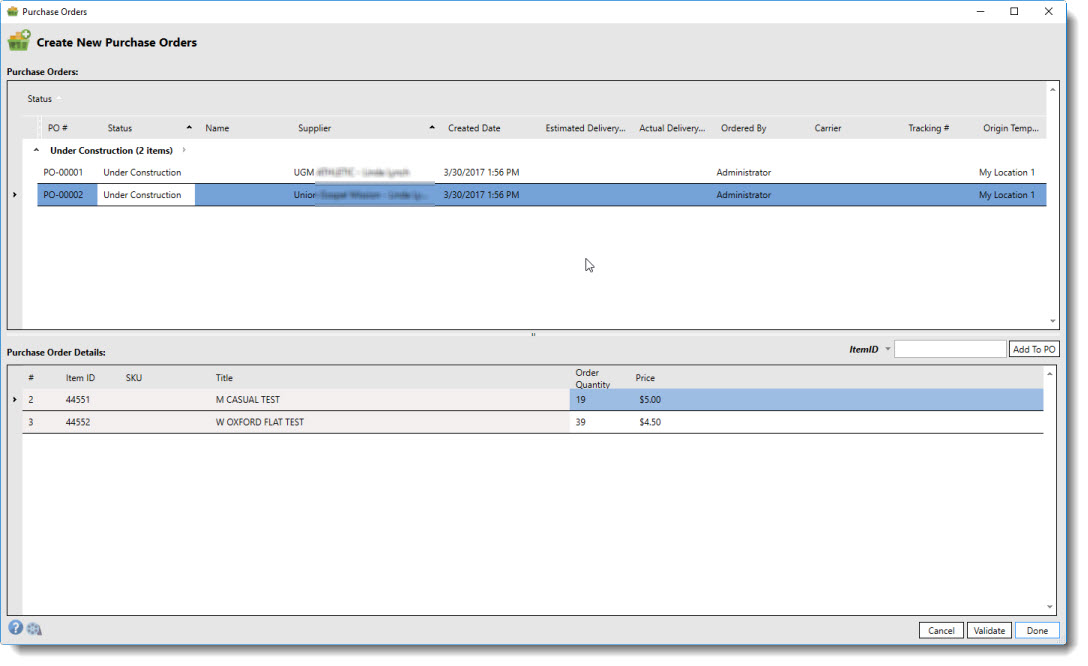
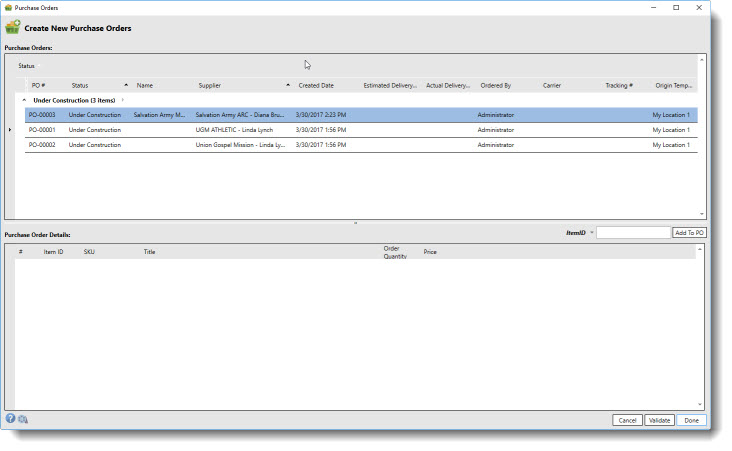
The grid at the top displays a row for each Purchase Order. Many fields are editable including the Name, Estimated Delivery Date, Actual Delivery Date, Carrier, and Tracking Number.
As a Purchase Order is selected in the top grid, the items within the Purchase Order are displayed in the bottom grid. Based on the current inventory and the Restock To value, the quantity to be ordered has been calculated. Also, the cost from the latest purchase record has been added. Both the Order Quantity and the Cost can be edited.
At any time in the creation process, the PO can be discarded by selecting it from the Purchase Orders grid and clicking the Delete button on your keyboard.
Once all items have been added and the quantities and prices verified, click the Validate button to lock in the order. Once the PO goes into the Validated status, the information about the PO can no longer be updated. The Invalidate button will return the PO to an editable state.
Creating Manual Purchase Orders
More often than not, automatic creation of purchase orders will be most valuable to sellers, however there are occasions when a purchase order may need to be created outside of the normal automatic purchase order process.
To manually create purchase orders:
- From the ribbon bar in the Sell Items mode, click the arrow under the Purchase Orders button and choose Create New.
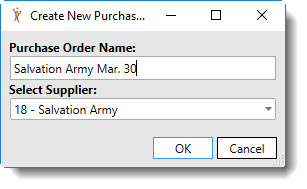
- Enter a Name for the Purchase Order, and choose the Supplier from the dropdown, then click OK.
The Create Purchase Order window will open with the new, manual PO selected.
Items can be added to the PO using the Add to PO button and selections.
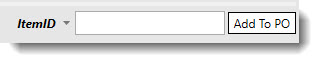
Simply choose how you want to identify the item to be added from the type dropdown (ItemID, ExternalItemID, ProductID, SKU, or ASIN), then enter the value and click Add to PO.
| The selected item will be added to the PO regardless of whether the item has ever been acquired from the selected supplier in the past. |
If there was a Restock To value specified on the item, then the Order Quantity will be automatically calculated, and the Price will be set to the cost the last time the item was purchased. Both the Order Quantity and Price can be edited if desired.
This process can be repeated until all items have been added to the Purchase Order.
At any time in the creation process, the PO can be discarded by selecting it from the Purchase Orders grid and clicking the Delete button on your keyboard.
Once all items have been added and the quantities and prices verified, click the Validate button to lock in the order. Once the PO goes into the Validated status, the information about the PO can no longer be updated. The Invalidate button will return the PO to an editable state.
A faster method of creating a manual order is to select the items to be reordered from the grid.
To manually create purchase orders from selected items:
- From the Sell Items mode, select the Items to be ordered from the grid.
- From the ribbon bar, click the arrow under the Purchase Orders button and choose Generate for Selected Items.
The Create Purchase Order window will open with the new PO created for each unique supplier of the selected items.
This can be used as a starting point. The existing items can be edited or new items added following the process for manually created PO's.