See Also
- Applying Saved Presets
- Editing Saved Presets
- Entering Listing Upgrades
- Entering Payment Information
- Manually Entering Listing Upgrades
- Editing a Preset
- Creating a Preset
- Renaming a Preset
- Deleting a Preset
- Reordering Presets
- Manually Entering Payment Information
- Entering eBay Shipping Information
- Manually Entering Shipping Information
Saving Settings for Future Use
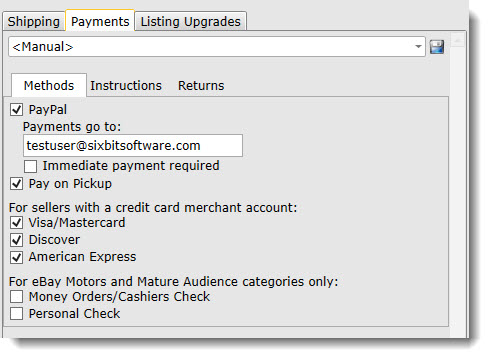
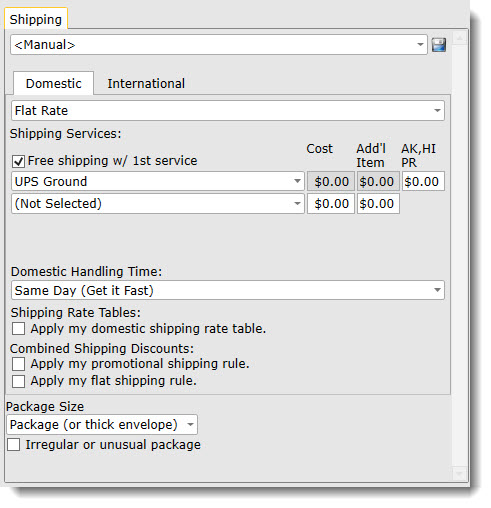
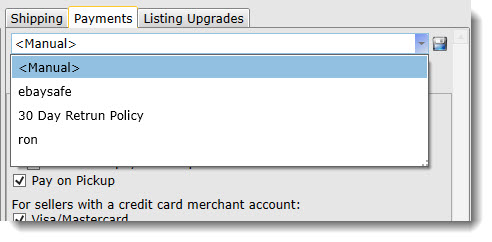
The Listing Upgrades tab, Payments tab, Shipping tab, and Allocation Plan tabs each allow you to save all the settings within the tab under a named collection called a preset. By saving all the settings as a preset, it becomes easy to switch between different collections.
To save settings as a preset:
- Select <Manual> from the
Settings Collection drop
down.

- Fill in all the fields in a group with the values that will be used again in the future.
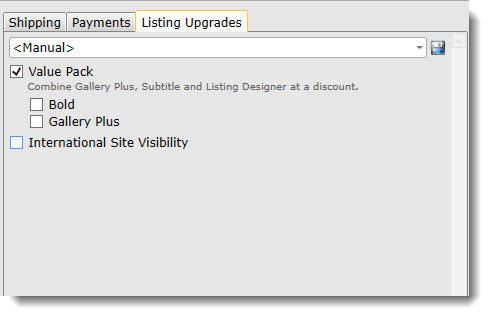
- Click the Save icon next to the
Settings Collection drop
down.

- The Settings Collection drop down will become a field that can
be edited. Enter a Settings Collection name. Try to use a meaningful
name. For instance, a Listing Upgrade Settings Collection that
has Bold and Gallery Plus checked could be called "Bold, Gallery
Plus". Likewise, a Shipping Settings Collection designed
for shipping fragile items might be called "Fragile Shipping".
- Press Enter or tab out of the field. The settings are now disabled, which indicates that a Settings Collection is being viewed. To make changes, edit the Settings Collection must be selected.